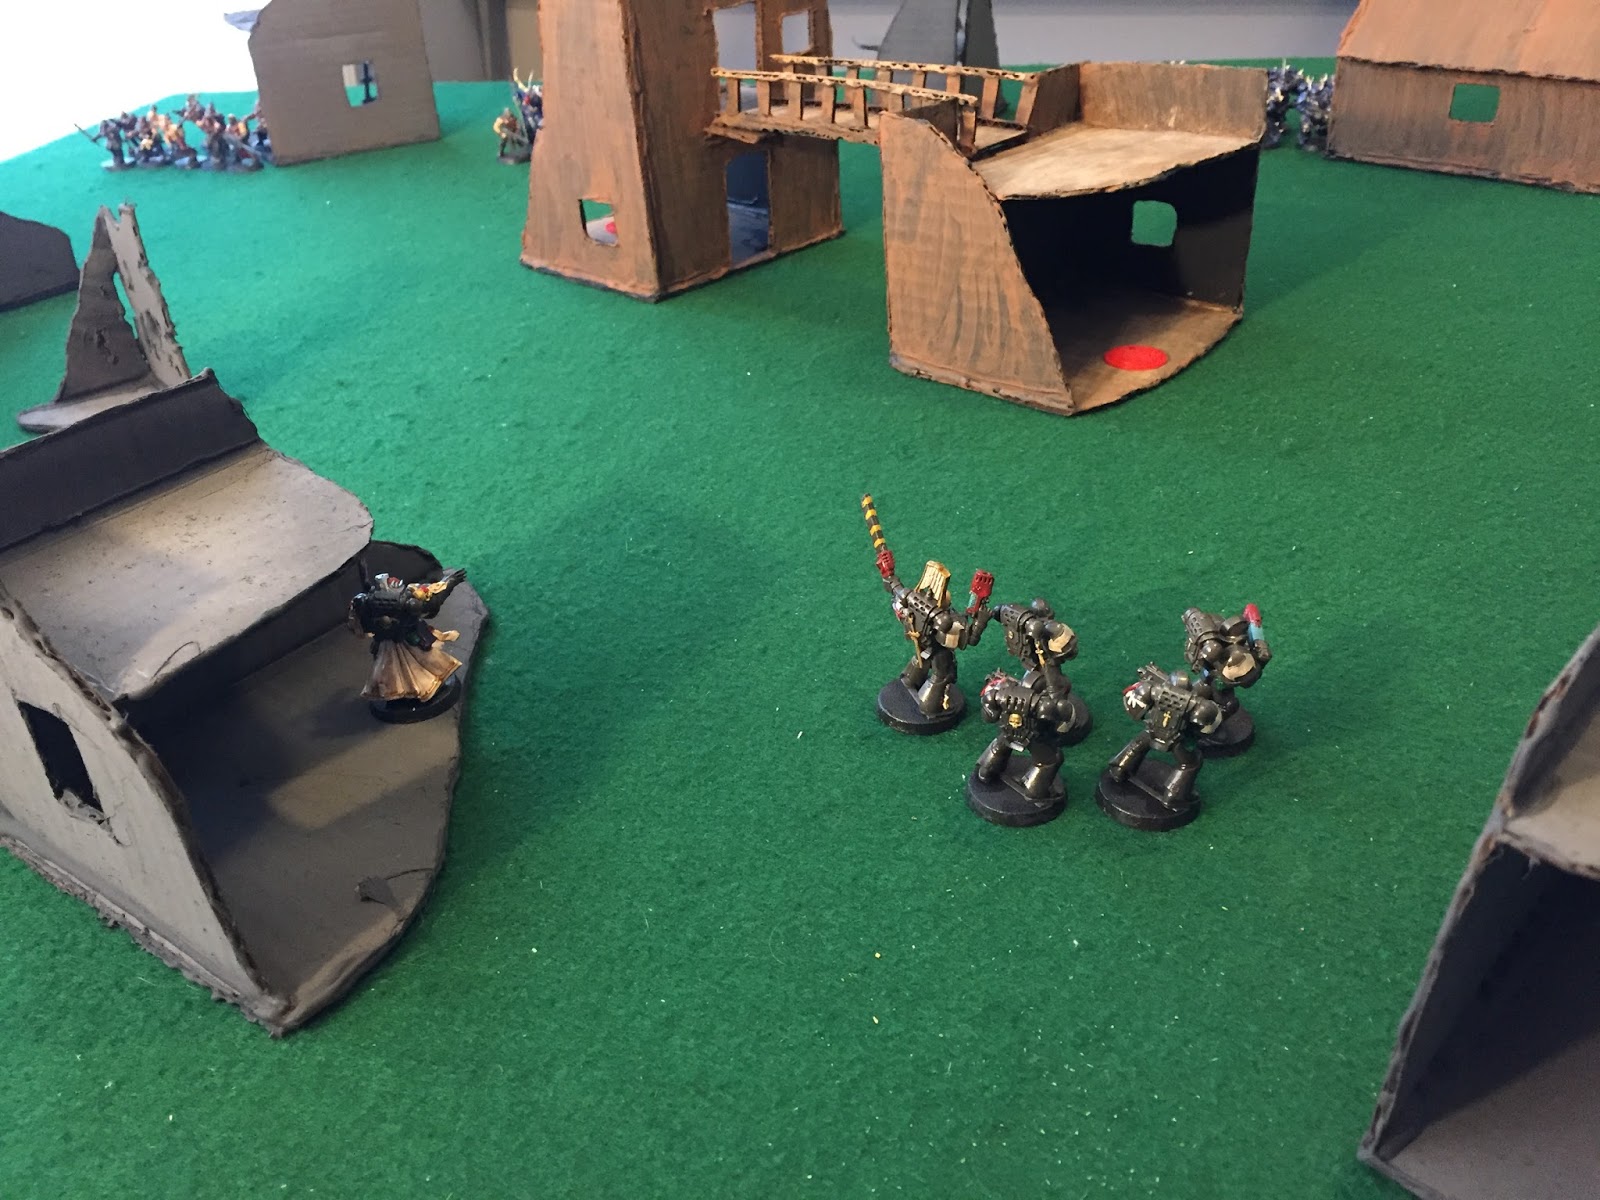
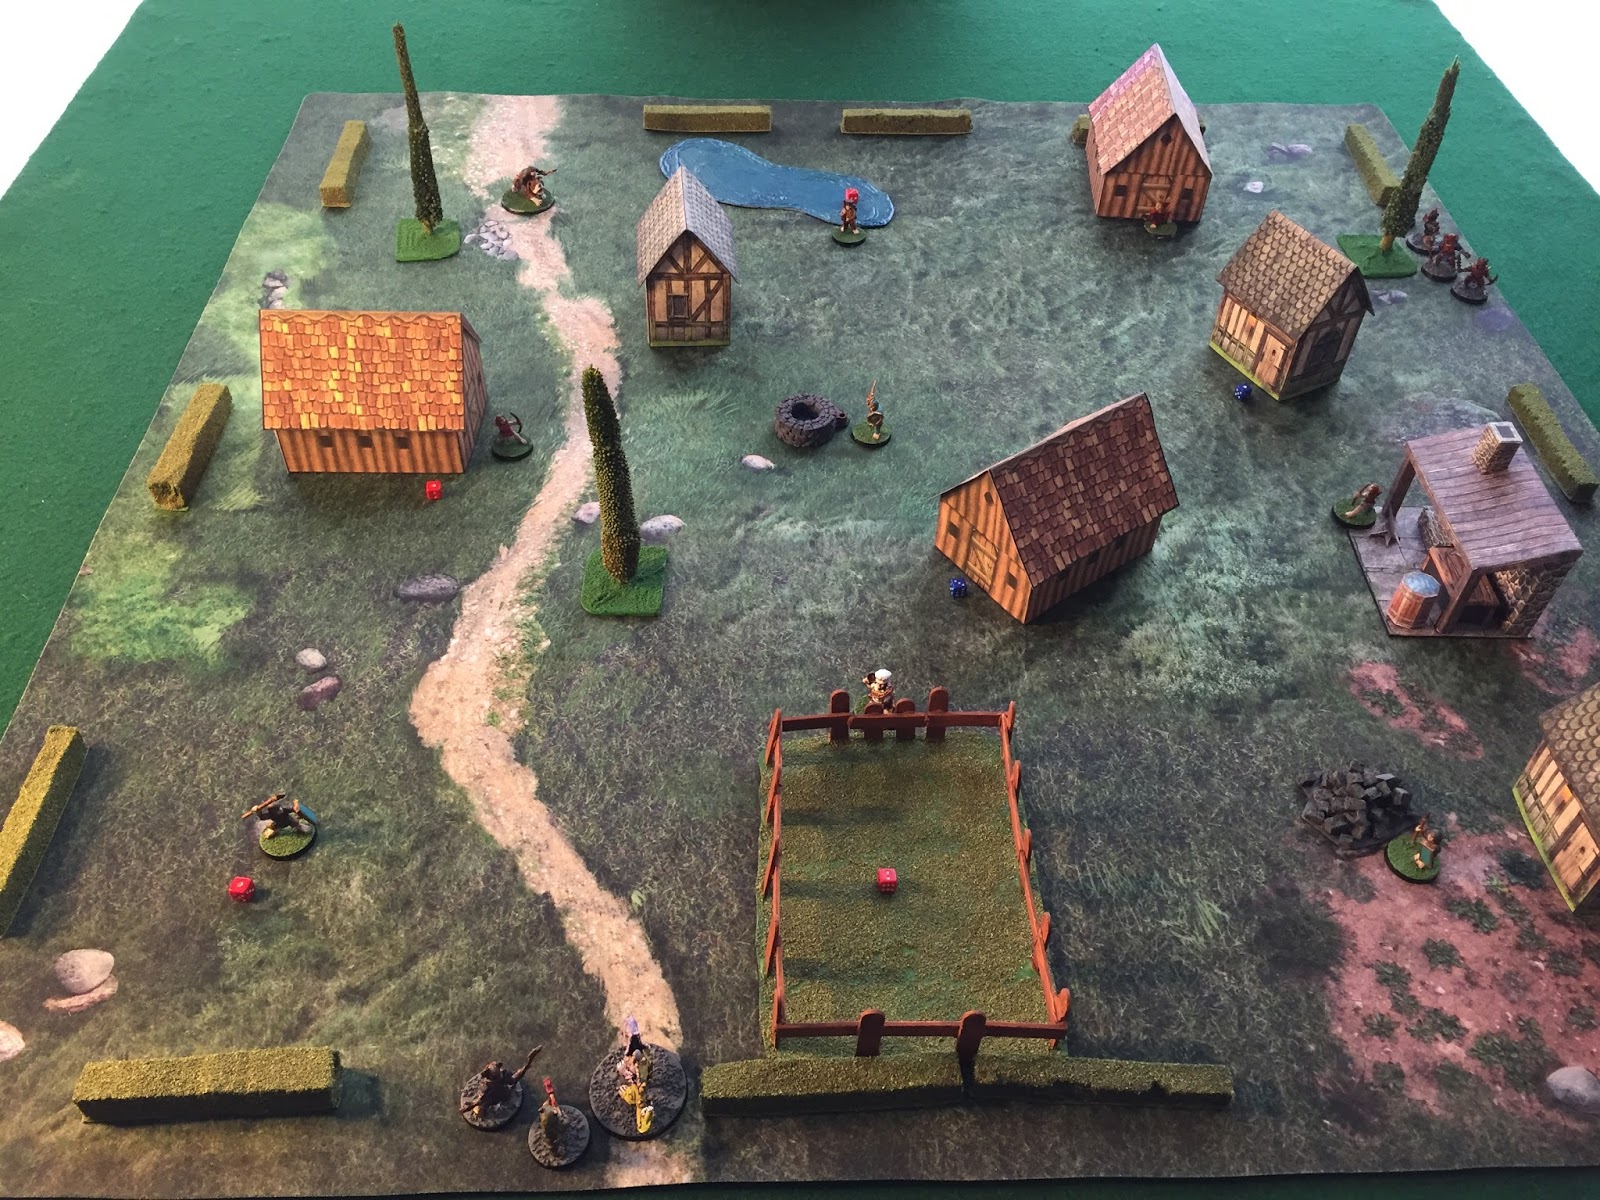
The Possessed Dwarves need souls to sacrifice for their demonic rituals. There are not many souls as innocent and pure as those of Halflings. In the village of Elvenfell, the Halflings are suddenly the target of a raid by the Possessed who want to capture as many civilians hiding in their homes as they can.
 |
| The Halflings: Hound Rider (Q3+ C3, Heavily Armored, Long Move, Mounted, Powerful Jaws), two Militiamen (Q4+ C2, Block, Heavily Armored), Chieftain (Q3+ C3, Block, Elven Plate Armor, Inspire), two Archers (Q4+ C2, Gang, Good Shot, Short Bow), Holy Man (Q3+ C2, Holy, Spellcaster, Spell: Holy Light, Wall of Holy Light), Trapper (Q3+ C3, Outdoor Specialist, Rare, Snares), and Cook (Q3+ C2, Arcane Cook, Medicine Bag). For the Cook's magical food he gave Energizing Jam to both Militiamen, Trapper, and Chieftain, and a Cake of Fury to the Hound Rider. |
 |
| The Possessed: Hell Hound (Q3+ C4, Danger Sense, Demon, Fear Aura, Long Move), Hellfire Fusilier (Q3+ C2, Hellfire Arquebus, Short Move), Hellchain Fanatic (Q3+ C4, Ball-and-Chain, Opportunistic, Short Move, Steadfast), Heavy Infantry with Paincarver (Q3+ C3, Heavily Armored, Paincarver, Short Move), Screaming Face Axeman (Q3+ C4, Heavily Armored, Short Move, Vorpal Blade), Heavy Infantry (Q3+ C4, Heavily Armored, Short Move), and Hellcaster (Q3+ C2, Short Move, Spellcaster, Spell: Hellfire Ammunition, Hellfire Blast, Hellfire Immolation). |
 |
| The Halfling village of Elvenfell. The red dice represent Elven Lures. The blue dice represent snares from the Halfling Trapper. There is one Halfling in each of the nine imaginary squares. The Possessed are split, with one team on the southern road and the other team on the northeast corner. |
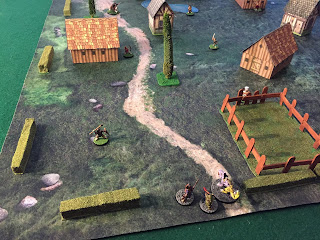 |
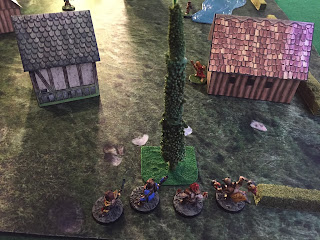
| Here the Hell Hound, Heavy Infantry, and Hellfire Fusilier take the road from the south. |
 |
| The Hellcaster, Hellchain Fanatic, Screaming Face Axeman, and Heavy Infantry with Paincarver approach from the northeast. |
 |
| Opening turn, Hell Hound advances. |
 |
| The Halflings regroup, waiting as the Halfling Hound Rider comes racing down the road. The Possessed Heavy Infantry reveals an Elven Lure, but the ancient elven song is not enough to transfix the dwarf. |
 |
| The Halfling Holy Man, realizing he was about to face the brunt of the Possessed raid, summoned a Wall of Holy Light to block the demonic dwarves and enable his Halfling allies to arrive in time. |
 |
| The Hound Rider and Hell Hound clash as the Heavy Infantry and Fusilier advance. |
 |
| The Screaming Face Axeman rushes around the Wall of Holy Light to barge into the Trapper and Halfling Chieftain. Meanwhile, the Hellcaster, Hellchain Fanatic, and Paincarver try to run around the middle house. |
 |
| The Hell Hound is slain by the Hound Rider. Then the Halfling Archer runs forward and fires an arrow to knock down the Fusilier. The Militiamen advance to block the Heavy Infantry. |
 |
| The Holy Man has only one spell to stop the Possessed, thus dropping another Wall of Holy Light in front of the house the dwarves were approaching. The other Halfling Archer uses her keen short bow in close proximity to make the Hellchain Fanatic fall prone. |
 |
| The Hound Rider, having neatly killed the Hell Hound, charged the Fusilier. |
 |
| The Possessed continue to beat at the Wall of Holy Light and the Hellchain Fanatic bounced up to take on the Halfling Archer. |
 |
| The Fusilier is slain as the Militiamen and Cook try to swarm the Heavy Infantry. |
 |
| The Wall of Holy Light was destroyed, but the Holy Man simply summoned another. The Screaming Face Axeman bowled over both the Trapper and Chieftain. |
 |
| The Heavy Infantry is slain and the remaining Halflings now rush to the northeast to assist their countrymen. |
 |
| The Possessed are severely outnumbered, surely this must be the end. |
 |
| The Chieftain is slain and now the Holy Man is threatened by the Paincarver. The Hellchain Fanatic now faces more Halfling defenders. |
 |
| The Holy Man is Gruesomely Killed by the Paincarver. The Trapper is killed by the Screaming Face Axeman. One of the Archers ran screaming off into the distance, leaving the village in a panic. |
 |
| Without the Holy Man, the Wall of Holy Light is extinguished. The Halfling defenders continue to attack, hoping to turn the tide. |
 |
| The Hound Rider is Gruesomely Killed by the Hellchain Fanatic. This panics the other Archer, Cook, and a Militiman, who all run but do not flee the village. |
 |
| The desperation of the Halflings is palpable. The Screaming Face Axeman is now battering the door on the house to the north as the Hellcaster tries to shrug off a stubborn Militiaman to get in the middle house. |
 |
| Doors are hacked down.... |
 |
| Only one Militiaman remains.... |
 |
| The Screaming Face Axeman and Hellcaster make off with one civilian each. |
 |
| The Militiaman has a lucky strike, tripping the Paincarver. Will his fortune hold? |
 |
| The Hellchain Fanatic bashes down another door. |
 |
| The Paincarver eviscerates the Militiaman. The other Possessed make off with their hostages. |
 |
| These are the sole survivors of the scenario. As there were no Halflings remaining, no one could contest them each getting a civilian off the board. So the Possessed now have four Halfling sacrifices to be used later. As well, they gained a Demonic Seal. The Hellchain Fanatic received the Hellfury Seal. |
 |
| The Holy Man and Hound Rider were Gruesomely Killed, so they are completely dead. The lavender dressed Archer will miss the next game. The pink Archer had fled the village, so she is fine, and so is the Militiaman in the throwing spear pose. The rest of the Halflings are all at -1 Q next game. Great rolling for survival guys. |
This was a fun scenario. Its my first time playing with any of the new traits from Axe & Brimstone, so it took a while to wrap my head around all the different stuff that was added. There was a lot on the table to keep track of when playing solo but overall I think I did all right. Its nice having a gaming mat and using all my new terrain pieces.
Issues/Thoughts/Opinions:
1) The scenario includes a LOT of extra tidbits with game mechanics for each terrain feature, which is great. About the only thing I used out of all the extras were three of the Elven Lures, which all failed to do anything, which is not great but the will of the dice gods. Pretty much all of the circumstances that need to occur to activate the different terrain mechanics relies on a very slim margin for success.
2) Holy Man with Holy, Holy Light, and Wall of Holy Light sounds like the perfect bane to evil-doers. Which it is if the enemy is just demons or undead, but not against Possessed. My fault for not reading the traits in depth before writing up the profile. And the Wall of Holy Light, can it be destroyed/attacked like other Wall spells? I assumed yes.
3) The Victory Conditions require the Halflings to slay the Possessed and for the Possessed to drag away civilians. What happens if there are no Halflings remaining? Do the surviving Possessed each get one civilian or d3 from each house, since no one remains to stop them?
4) Halfling Food Magic is neat. The Energizing Jam was awesome as was the Cake of Fury.
5) Short Bows are wickedly good within 1x Short when coupled with Good Shot. Highly recommended for close encounters.
6) I actually got Elven Plate Armor to work after failing a Block. Dice gods are fickle.
7) Hellfire Blast - what is its range? I would assume it should have Variable Range, or be like the Hellfire Arquebus.